I had this ongoing fear that all of our family photos would get lost or destroyed. I've always wanted to have a central place for all of my photos, both past and present. In early 2012, my mom and I started on a project to scan, crop and organize all of our old photos from negatives.
Going Digital
I was fortunate that when I decided to take on this project, my mom already had two large Epson flatbed scanners with transparency adapters. What was even better was that my mom was highly organized over the years and archived all of the negatives of every photo she had ever taken. This only left us with one thing to do: scan the photos. Since I was living in California and my mom in Montana, the work of pulling the negatives and scanning them was going to be done by my mom. We also needed to have a way to transfer the files from her computer to mine. Dropbox was an obvious choice in this case, but there was one problem that would complicate everything: hard drive space.
My mom was still using her PowerMac G5 at the time and hard drive space was pretty limited. It wouldn't have taken long before she wouldn't have enough space to even scan the photos. As a simple solution, once the scans were uploaded and synced to my computer, I could have manually removed the files and place them on my own computer, but I was lazy and didn't want to check constantly whether new files had been added. At the time, I was just learning how to code and thought this would be good practice 1. I ended up writing a script that would mirror the folder structure for the scans in our Dropbox shared folder on my local Desktop and then remove the original file in Dropbox. The old folder structure was maintained so that if any new files were added to the same folder, my mom wouldn't have to recreate them. I then set this up as a cron job to run once a day and then send me an email digest of all the files that were transferred.
After a couple of weeks, I had nearly 15 years of photos in folders organized by year totaling around 85GB. Each Photoshop file was around 1.GB each and the photos were scanned at 300dpi. Now the hardest and longest part of the project was about to begin.
Cropping, Resizing, and Renaming
I wasn't entirely sure how I was going to do this part efficiently. My mom hadn't laid out the photos in a symmetric grid and there wasn't a reliable way to detect photo borders. I also decided beforehand that I wanted to preserve the original files and so I would save an individual Photoshop file for each photo that was cropped. I then wanted to have a separate folder that was simply for viewing the files.
Starting off, I wanted to try manually doing everything and automate things over time. Cropping the files using the marquee tool was always going to be manual. I would select the file, copy it, create a new file with the dimensions from the clipboard and then paste the photo into the new file. After I had gone through the entire file, I would save all the files at once with random names (you'll see later why the naming here didn't matter). This part immediately became tedious. I did some research on how I could make this easier or faster and discovered Photoshop actions2. What was great about this was I was able to record every step I was taking into one single keyboard shortcut. This broke down the process to simply selecting the photo and hitting shift-F1. This one keyboard shortcut took care of copying the file, creating a new file with the dimensions of the clipboard, pasting and then finally selecting the previous file. That last step was key. Instead of a final control-tab to move back to the original file, the action took care of it for me. You can download the Photoshop action here.

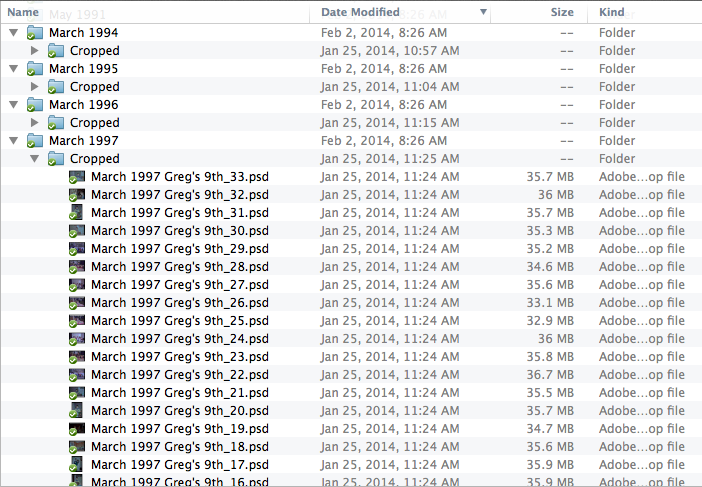
At this point, I had an original Photoshop file and a folder called Cropped where all the new photos lived. I now needed a way to rename these files to something meaningful. Automator and Alfred made this simple. After I finished cropping, I would select all of the newly created files, run my Alfred extension "Rename Scans" which would trigger an automator script, prompt me to name the files, and then each file would be renamed from something like Untitled1.psd to November 1987_1.psd.
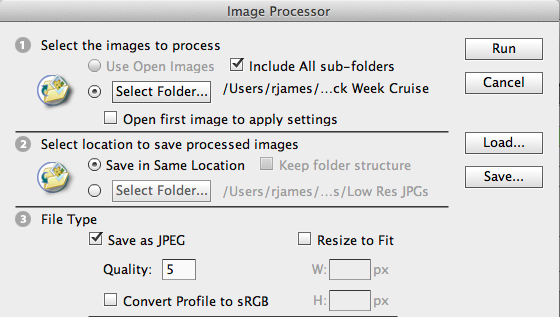
At this point, the final step for each of these files was to create a viewable JPG for every photo. Turns out, Photoshop has a great feature called Image Processor. After the files were neatly renamed, I would open up the Image Processor, select the folder, and hit go. My settings were always saved so there wasn't much else to be done each time I ran this. I would take the Photoshop files, create a new JPG at 5 quality in a new folder called Low Res Images with the same naming convention.
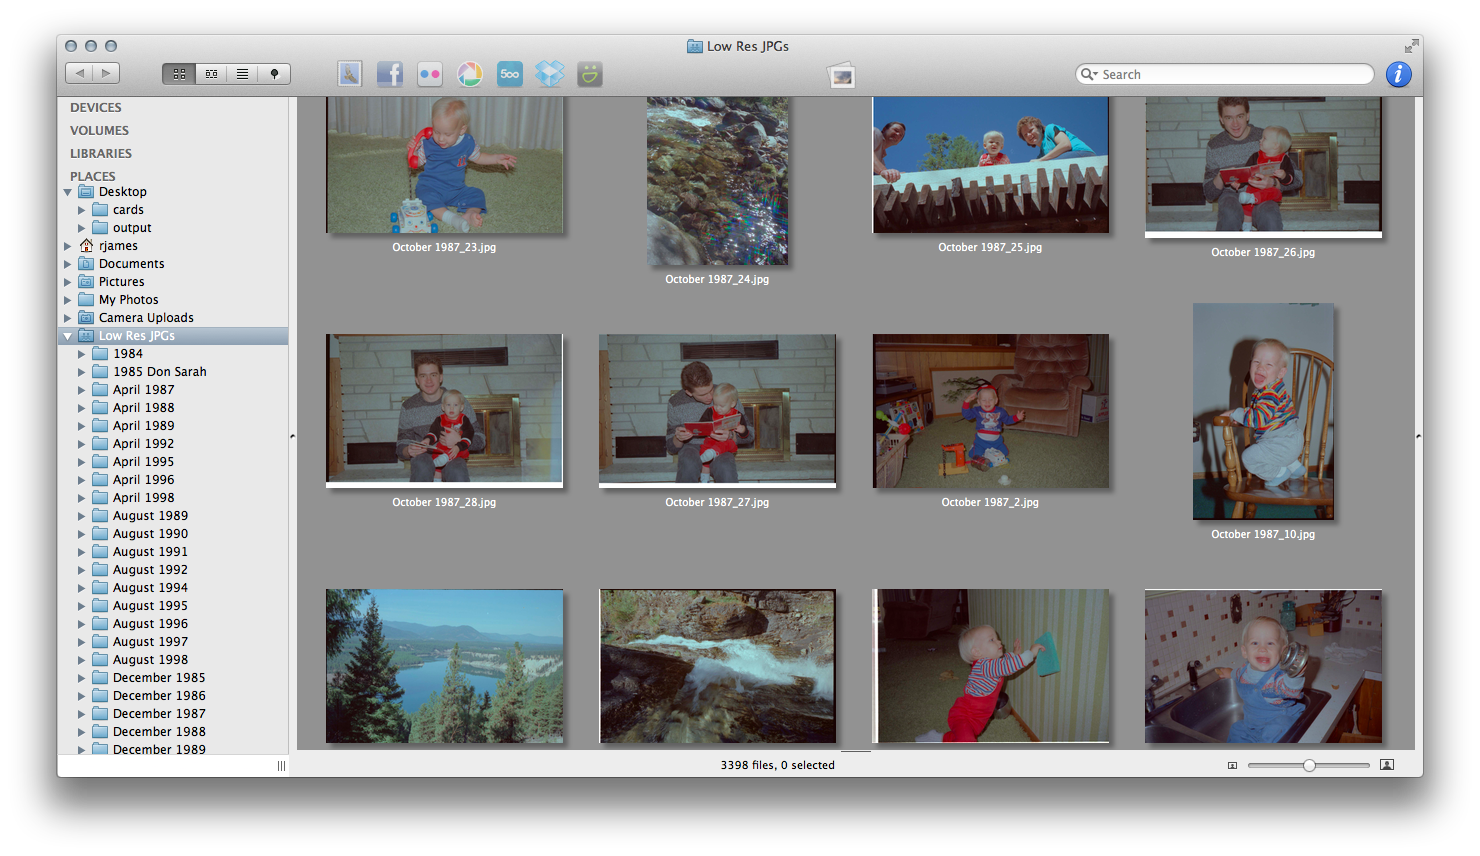
I was then able to share this folder back with my mom and the rest of my family. They enjoyed watching the photos get added over the last year or so as I casually worked on the files.
Once I had done all of the steps for each file, I would move the folder of PSD files into a folder called Done. This simply gave me a better idea of how many folders I had left to work on.
Viewing
In late January 2014, I finally finished cropping all of the photos. I never intended on it taking quite this long, but it was never something that needed to have a deadline. It felt great to know that I was finally done and could just sit back and look at all of the old photos from what I was little. I was using Lyn to view all the photos and realized that something was a little off. All of the photos were out of order. All of the folders had been named as Month Year, and even if I was viewing all of the photos at the same time, they were sorted in the order that I had created the files, not the time they were actually taken. I couldn't sort them in a photo viewer, Dropbox's photo tab would sort them by file creation and not EXIF date taken, and using Spotlight search was more-or-less pointless. There was no way that I was going to manually date 3,300 photos by hand. I had used the command line tool exiftools a few times, and I started looking into whether this would be a possibility for dating the files. It turned out that the command was really straightforward for naming a folder
exiftool "-AllDates=1999:12:31 12:00:00" foldername/
Even though I could have done it by hand, I didn't really want to have to type this in for 80 or so folders of photos. I quickly wrote up a Python script that would parse out the date from the folder names and prompt me to confirm whether this was correct or not. I was fine hitting Enter 80 times.
Some of the folders were called things like January-March 1995. For these cases, I would just assume the first month for the date. I wasn't going for perfection, but rather a good estimate for the time the photos were taken.
You can take a look at the script here. Do note that the script is really specific to my folder structure so it might not work perfectly for you, but it'll be a good start if you need to do something like this.
What I Learned
Epson now makes a scanner that eliminates a lot of the hard work around cropping the photos. It's expensive, but it would have saved me a lot of work.
I've made this comment before, but I still would love to have a way to embed facial recognition into the metadata of photos. My perfect world would be having the ability to do something like search for all of the photos of my brother before 1995.
Ultimately, this was a long, but satisfying project. I sleep better at night knowing that all of our family photos are backed up and not be lost forever if there were ever to be a disaster.